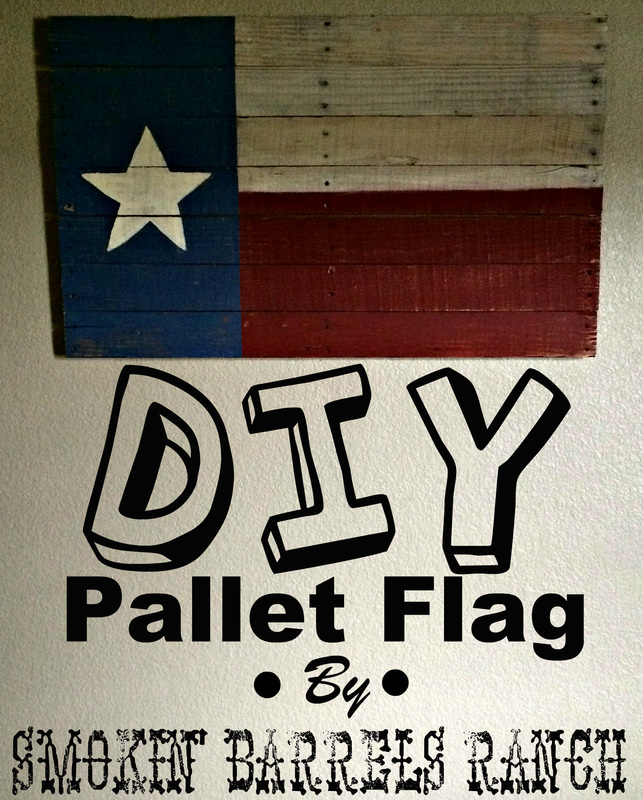
Hey y'all, today I'm gonna "learn ya" a fun easy pallet project! While my pallet is a TX Flag, once you have the boards laid out and screwed together you could really go any direction with what you want to put on it (since not everyone is blessed with the pleasure of living in Texas :)))) Let's get started with the stuff you'll need
| Materials: -1 possibly 2 pallets, depending how big you want this thannggg - hammer -crow bar -screws -drill -saw - hand sander/ or sanding blocks -Acrylic Paint | 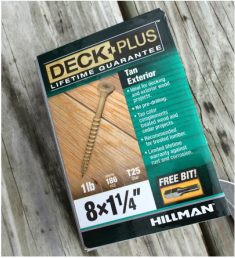 These are the screws we chose for this project |
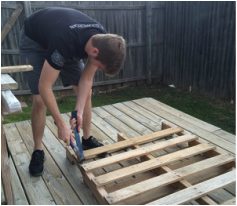 My handsome strong manly man takin' care of business | Now that we have the materials lets get this party started. Remember how I said it was an "easy" pallet project? Well I lied, because this part is stinkin' hard! Step 1 is using the hammer and crow bar to pry the pallet boards off the frame. Now I personally like to find a handsome strong manly man to do this part, but if you don't have one available you are in for a serious work out! We ended up using all of the boards (7 for the front 2 as the brace pieces on the back) for our flag. Now how many you use is up to you I know pallets come with different sized boards, some come with the skinnies or the wide |
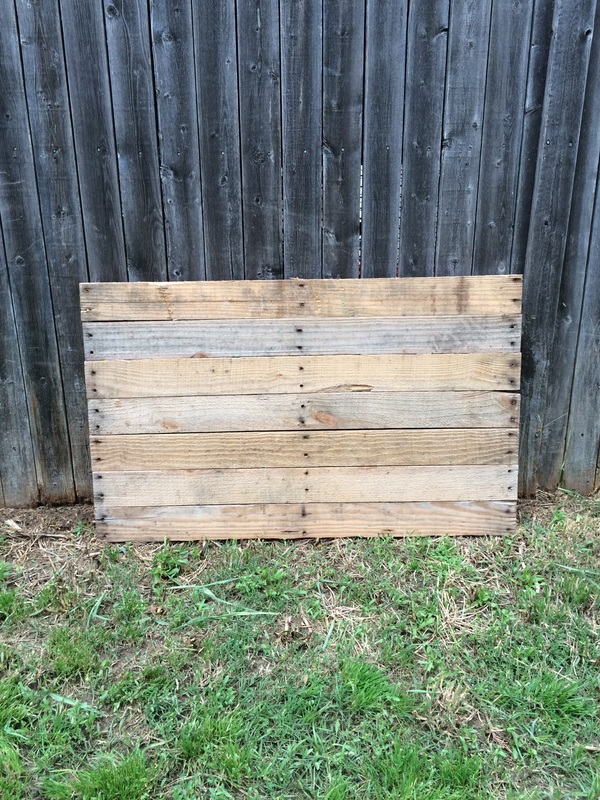
ones, so its subjective. When we put our pieces together they came out to 25" wide and 41" long. Once you have pried all of your pieces off you are gonna put them together however you want to make them fit. Don't just shove them all together, play with them. Does this one have a cool crack in it, when those two pieces go together does it make a nice shabby space in-between. If I offset the ends a little instead of keeping them straight what does that look like? There are so many options, take the time to really create something unique!
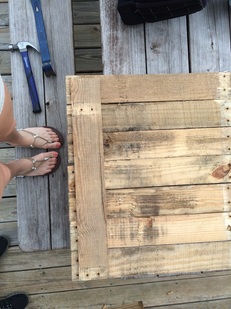 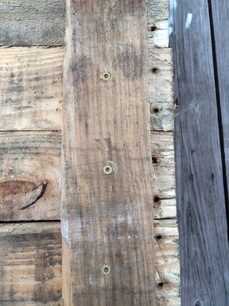 | Once you have your boards set like you would like, you will flip them over so whichever side you want to be the back is facing you. Then you will take two more boards to use as the backing. For the backing you are just going to use one board at each end. Since I am more of a visual learner, here is a picture of how it should look. For added support you could use a 3rd board in the middle if you wanted, but that is just added weight. You will probably have to saw them to make them shorter so you won't see them from the front. Next, you are going to get your handy-dandy drill and those screws. We used exterior screws just in case one day our pallet art made its way outside. These screws are perfect for pallet projects because they are short enough they are not going to go all the way through both pieces of wood. Yay for no poking! We usually go from the front and let the nailheads show but we decided to change it up, and wanted a no-show look so we actually put the screws in from the back. To the left is how it should look. To attach the backboards we just put 1 screw on each side of the boards. so all together we used 14 screws. |
Below, I have what the completed backside should look like, and the completed front side.
 |  |
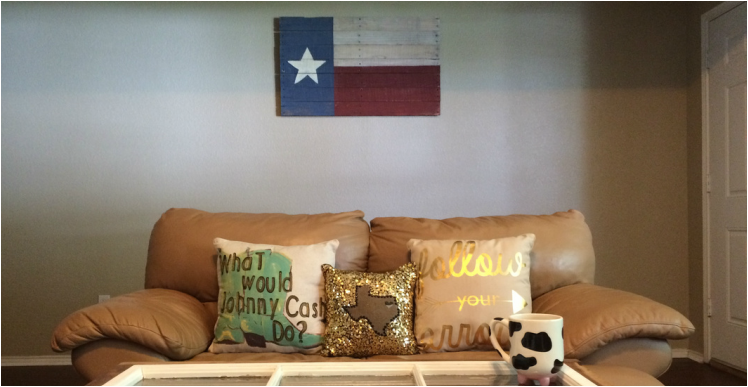
Above is the finished project! We are loving it here :) I didn't want to get into too much detail of how to paint it, because I am sure some of y'all have your own great ideas for your new pallet block. But if this is what you were wanting it is very simple! First you will use a sanding block to smooth out the wood, I used a medium grain. Then after you get it sanded down you will layout your flag. For the measurements the blue is 1/3 of the length of the whole rectangle so whatever your length is divide by 3. For the width of the red and white just divide by 2! I freehanded my star but to get an idea of the scaling My blue rectangle is 13 1/4 inches wide and my star is 10 inches wide and 9 3/8 inches tall. So you should have about an 1 1/2 on either side of the star and then the middle of the star should be in line where the white turns to red.
Now for my painting technique. I was so excited about this project and all I had on hand was foam brushes. I do not recommend using them for this project, they get ruined. Yes they are super cheap ($1.99 for a 4 pack), but they are hard to work with once they get all ripped up. For the red and blue, put on a good coat or 2 of paint and let dry completely. After the paint dries take up your sanding block again and get to work. You want to take off some of that paint so your sign looks worn and aged. Especially focus on the edges and corners. Sand until the wood starts showing through again. If you have bumpy sections on your wood make sure to rub on those sections really good, because this is where the wear of weather and age would start to rub the paint over time. For the white paint I put a little water in it and as I am painting I rub off the access paint. You can add more coats if it isn't to your liking, I find watering it down lets the grain pattern of the wood show through, so it looks more like a stain instead of paint. And that is it! I hope this post made sense and gave you some inspo! :)) Happy crafting
Now for my painting technique. I was so excited about this project and all I had on hand was foam brushes. I do not recommend using them for this project, they get ruined. Yes they are super cheap ($1.99 for a 4 pack), but they are hard to work with once they get all ripped up. For the red and blue, put on a good coat or 2 of paint and let dry completely. After the paint dries take up your sanding block again and get to work. You want to take off some of that paint so your sign looks worn and aged. Especially focus on the edges and corners. Sand until the wood starts showing through again. If you have bumpy sections on your wood make sure to rub on those sections really good, because this is where the wear of weather and age would start to rub the paint over time. For the white paint I put a little water in it and as I am painting I rub off the access paint. You can add more coats if it isn't to your liking, I find watering it down lets the grain pattern of the wood show through, so it looks more like a stain instead of paint. And that is it! I hope this post made sense and gave you some inspo! :)) Happy crafting

 RSS Feed
